 I got a new 20 inch Schacht Flip Rigid Heddle Loom! I have been wanting to design some color and weave tea towels for the rigid heddle loom. The 16 inch looms I own (an Ashford RH and a LeClerc Bergere) wouldn’t cut it for the size towel I wanted. As much as I love my little 10 inch Cricket looms (another well made Schacht product), I think the Flip is the best rh loom on the market when you want something a little bigger. Yesterday I put the loom together in about five minutes, and then finished designing and calculating the yarn needs for my project.I’m using two colors of 8/2 cotton in the warp and weft I decided to direct warp the project. I put enough warp length on for two towels plus a little extra for sampling. Keeping the spools of yarn separated at the back of the loom on the floor keeps them from twisting around each other as I warp. Using 8/2 cotton will keep the towels from being too bulky and the great thing about the 8/2 Cotton is that two threads and each slot in hole of a 10 dent heddle works perfect at 20 e.p.i. for plain weave. I just direct warp, filling both the slots and the holes with one loop of thread following my color sequence for the pattern. (Using the IWeaveit app’s threading tracker made that a breeze).
 To make direct warping easier for such a wide project, I did two things. I put my loom on a stand that was high enough so that I didn’t need to bend over as I was threading the heddle. Ergonomics in weaving are very important. And rather than direct warping to one central peg, I used a small warping board clamped flat to a small table and used three pegs with a third of the warp to each peg. (See the first picture above). That will keep each warp end closer to the same length. If I had using only one centrally placed peg, the warp ends would be longer at the outside edges of the warp than in the center of the warp since they would have a longer distance to travel. The warp only took about an hour and a half to measure and thread 360 ends (180 slots and holes). Since the holes are already threaded, when I wind on and tie onto the apron rod, I am ready to weave.

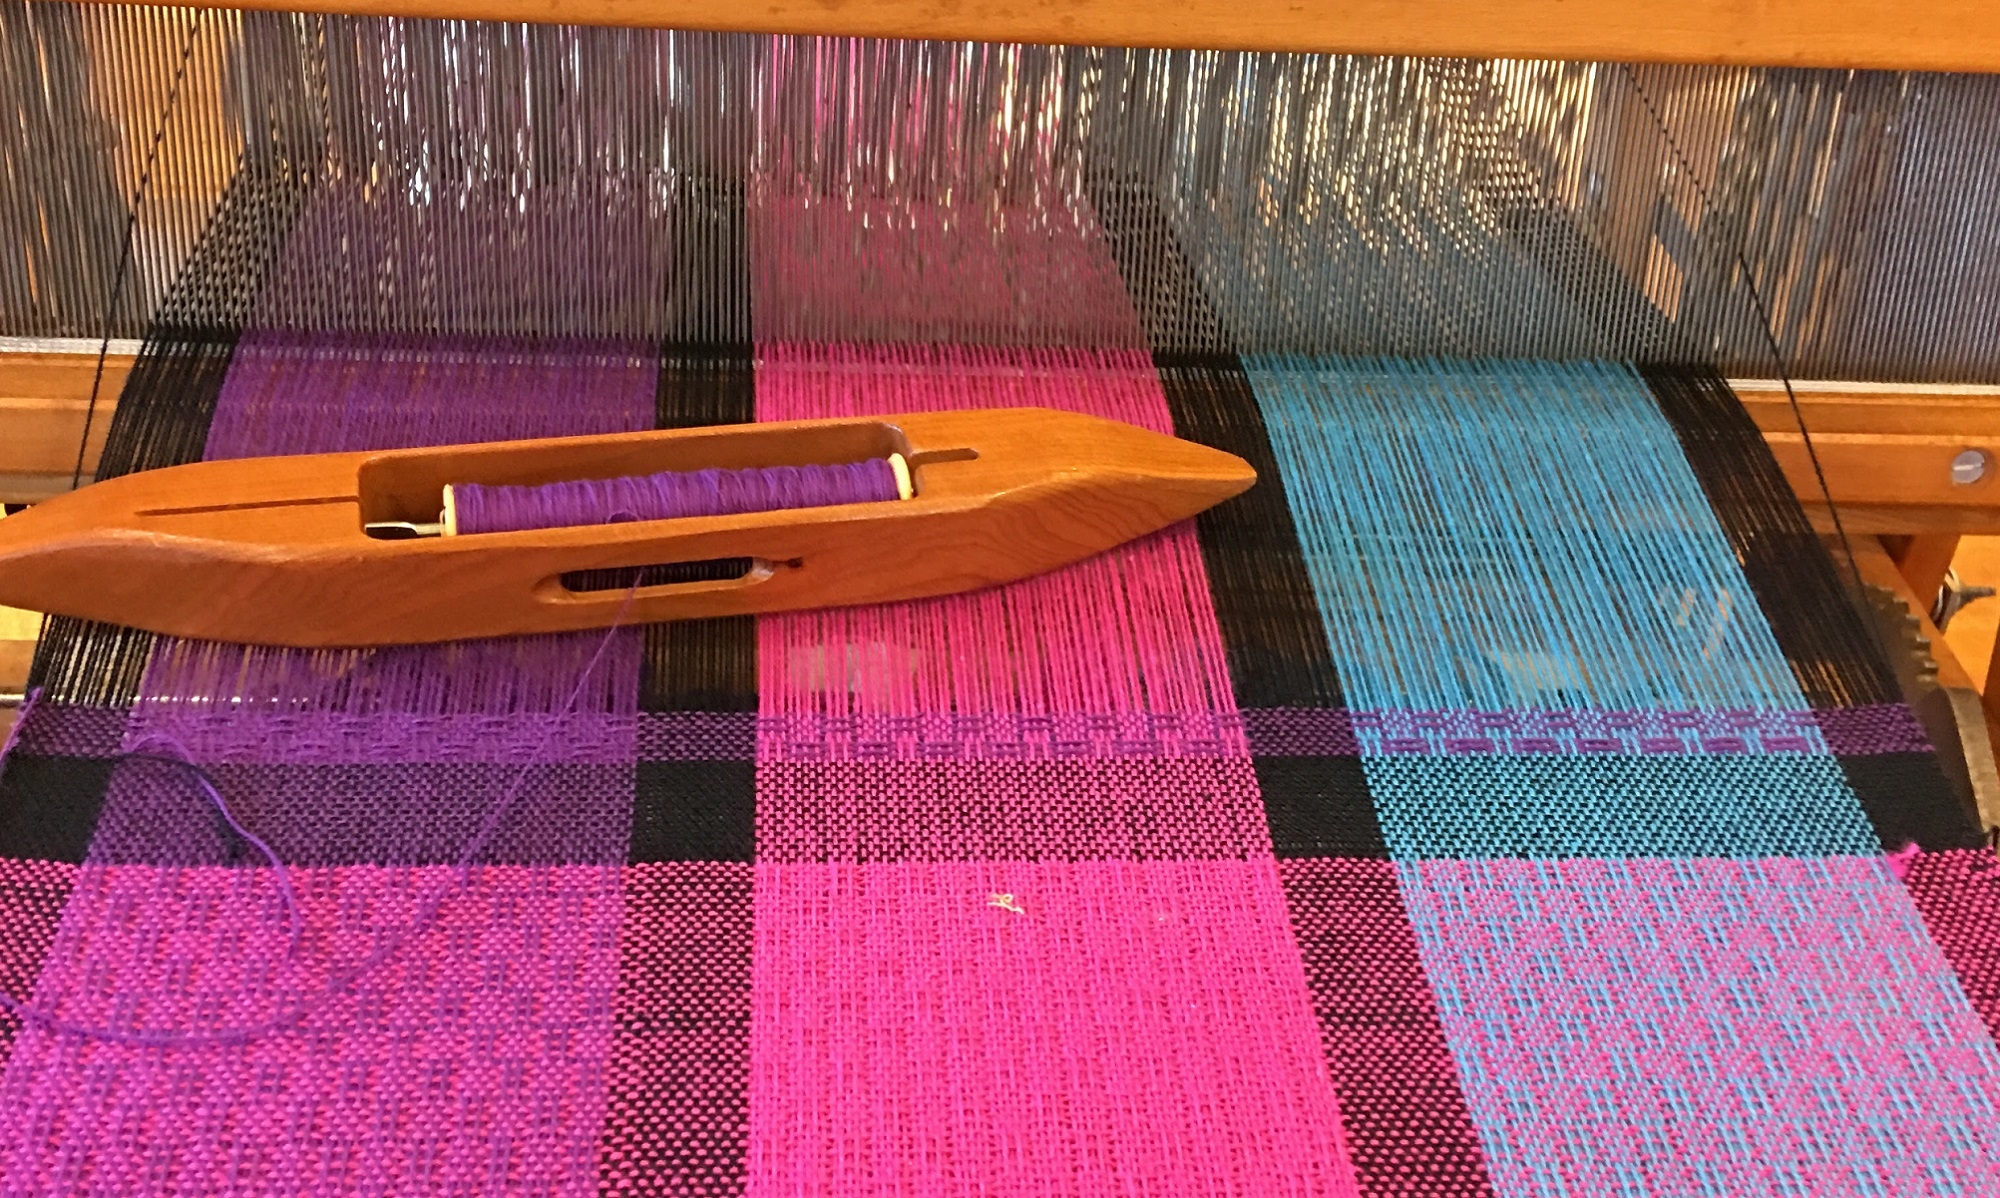
I did make one miscalculation while warping. I assumed my heddle was 20 inches wide since I bought a 20 inch wide weaving width loom. Since my warp was going to be 18 inches wide, I started threading one inch in from the edge of the heddle to center my warp (there should have been only one inch left un-threaded on the other side). As you can see, it’s not centered. The heddle is actually 20 and 5/8 inches. If I had checked before warping, I could’ve added another repeat of the color sequence and still not be weaving the full width of my loom. I think weaving from edge to edge the full width invites problems, so I like to leave at least two slots empty on either side of the warp. I will have to remember that tidbit for the next wide project I make. Now off to wind shuttles!


