Silk, Shibori and Indigo

shibori silk scarves
Registration is now closed.  If you wish to plan a shibori silk scarf party for you and a group of 5-10, please contact me at this email and we can set it up!

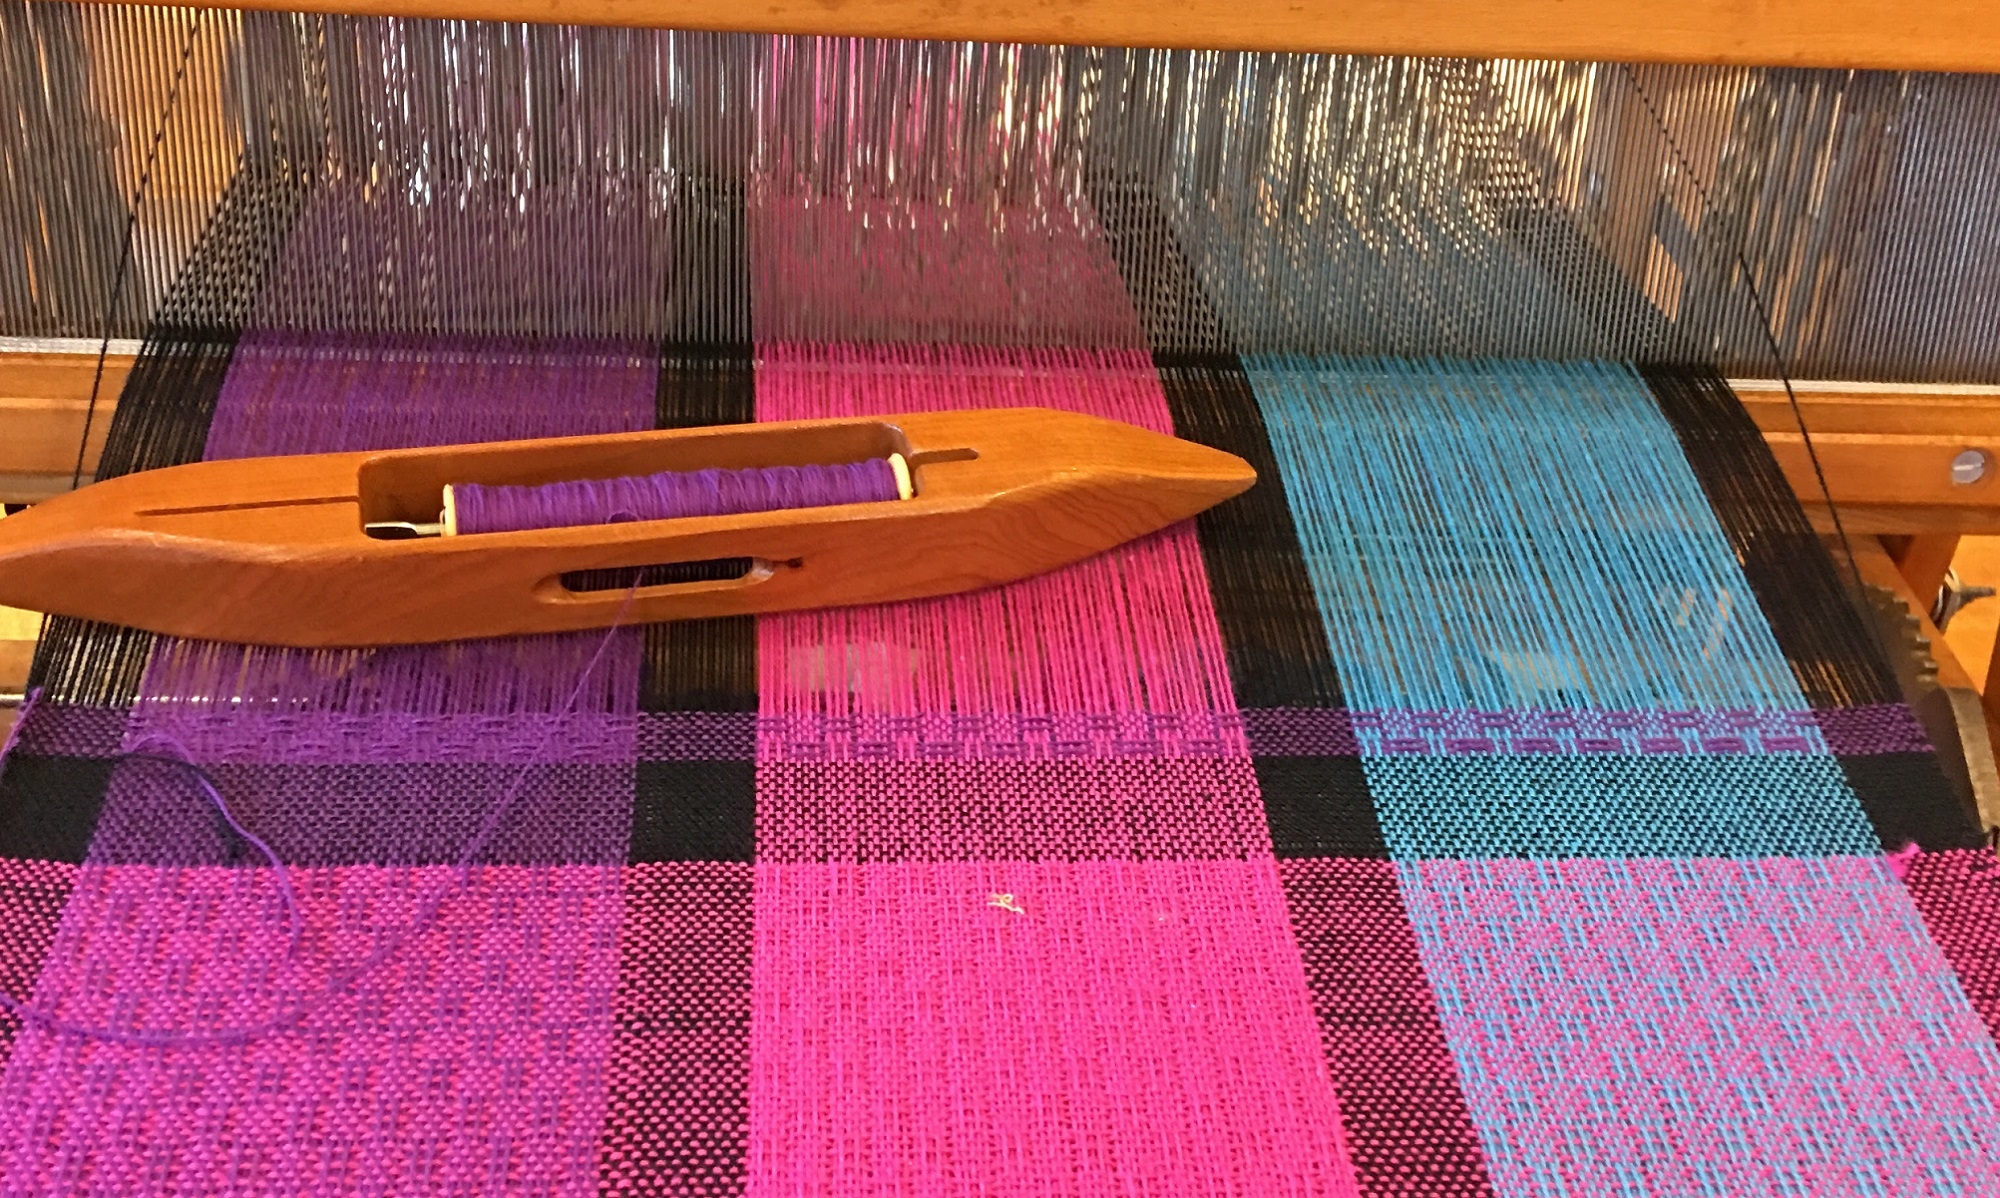
I will be hosting a 4 hour beginner’s workshop in my yard in Silverton, Ohio Sunday September 18 at 1:00 pm on the art form of Shibori and indigo dyeing. Shibori is an ancient Japanese art in which cloth is bound, stitched, folded, twisted and/or compressed to create patterns in cloth before dyeing.

You will receive a blank silk scarf that is dye ready. We will learn Kumo, Kanko, and Itajime Shibori techniques to create patterns of resist for a beautiful and unique scarf. You will choose 1 or 2 techniques for your scarf, prepare it, dye it in the indigo pot, rinse it, iron it dry and take it home. No previous experience necessary!

Workshop is $35 and includes the scarf and materials needed for the resists, the use of the dye pot and a handout.

Indigo dyeing is wet and messy. Please bring a good pair of rubber gloves that has a long cuff (not stopping at the wrist) to keep the dye from leaking into the gloves. The indigo dye is a slightly alkaline solution and not harmful to most people but stains and can take up to a week to wear off. The more worried you are about blue hands, the better and longer your gloves should be. Wear old clothes and shoes that can get dye on them.

The address and directions to my home will be sent to you after registration.

Limit 10 participants. To register and pay, click “Add To Bag” below. (Registration is now closed and link to register has been removed.)

Cancellation policy 100% refund before September 14, no refund after September 14 unless your space can be filled.
Click here to email Nancy with questions or comments. MeasuredThreads

The Unknit

I spent the end of last week in Cape Girardau at the Erlbacher Knitting Machine Company Homecoming & Crank In.  I had a great time with friends I made last year and new friends I made this year, learned some great tips, and got some in person help on timing my ribber better.  One of the most helpful things I learned was how to unknit faster and better on the machine.  I had been doing it with my pick tool, lifting the stitches off one by one. I learned how to pull up on the yarn and the new stitch pops off and leaves the old stitch right where it should be.  I got pretty fast at it after a couple of times.  You need to raise needles in order to park the yarn carrier out of the way, but I usually have needles raised already because I am working on a heel or toe when the need arises to unknit.  Either I loose track of where I am and end up increasing where I should still be decreasing ( or vice versa) or I am not paying attention and keep decreasing past my target needle.  Well, the latter situation cam up this morning so I took a video while I unknit. A slotted yarn carrier is helpful so you don’t have to cut the yarn, but if you don’t have one, cut the yarn and you will need to make a join of some kind when you are ready to get back to knitting the yarn off the cone or bobbin. I have not come across this process on a video or Sock TV before, so here it is. It’s much easier to see it than to try to have it explained in words. I have the camera in front of me, so its a little awkward, and my hands get in the way a little.  Near the end, my camera angle is off, but you have seen the important stuff by then. If I need to to it again, I will try to take a better video next time.


WiPs and FOs

I finished a WiP (work in progress) yesterday, Hyrna með krónuprjóni is finally finished after 7 years (approximately 6.75 of those years it was in a bag).  Now it is a FO (finished object). I will submit it to my Weaver’s Guild UFOFF (unfinished objects finally finished) Challenge Exhibit in a week and it will be on display in the guild gallery for a while beginning in May.
Here is a pic of it before being blocked.

IMG_0715


After soaking in a little warm water and Eucalan wool wash, she needs to be shaped and pinned out to dry. I folded it in half for blocking to save space (along with my back–bending over and pinning it out takes a while) andto  keep the symmetry.

HMK Blocking

Wet blocking is a transformative process that softens the yarn, lets the stitches settle into place, stretches out and shapes and opens the lace. When it is fully dry and you unpin it, the shawl keeps it shape.

HMK close up blocking

Have I said how much I love Old Shale lace?

IMG_0763


Socks in progress.  The pink pair is waiting patiently to be removed from the machine and have the toes grafted closed.

Pink Socks

They will be part of the basket my study group is putting together for a raffle at the Weavers Guild of Greater Cincinnati for the Fiber Arts Fair we are having on April 30.  If you are interested in buying fiber art or making fiber art (members will be selling used equipment a tools and extra stash yarn) come to the Fair at the Guild House! I will have cowls, sock and some towels to sell.

I also finished up a pair of clogs for my 13 year old son. They were a collaborative effort.  I bought the yarn, my daughter did most of the knitting.  I finished the knitting, sewed them up and felted them. Here they are pictured with my size 8.5 foot.

Peters Clogs

He has outgrown two pairs (grown 8 inches in the last year), here is the first pair I knit Pair 1 and a post when I was working on his second pair. (for some reason I didn’t take a pic after they were finished) so the new ones are bigger than his size 10 feet to have a little growing room.


Get Your Crank On

There has been lots of discussion lately on the CSM forums about the learning curve in using a circular sock machine and the difference between user error as opposed to machine problems.  One way to minimize user error is to have a checklist of things to do when you are getting ready to stand or sit at the machine and make a pair of socks. It can help you eliminate some of those little things that go wrong.  I put together a list of things that I have been trying to do to keep my head in the game and minimize the problems I cause myself. There are lots of things to check and watch for, and if you miss one of them, you may have to start the sock over.

Here is my checklist to hang by the machine:
(You can pop it out by hovering over the top right hand corner of the Google doc and clicking on the square with the arrow.  Then print it or download to edit as you need to for your own way of working.)

Camo Socks

Camo socks
I have begun breaking in my 72 stitch cylinder and ribber dial and can now make nice men’s socks sized small (shoe size 8-9) and medium (shoe size 10-11). I knit these for my son in his favorite color green that is called “Camo”. His dad wants a pair now too, so it’s a good thing I have more of this yarn. I think they will be very popular! These socks have a 1×1 ribbed cuff and a 3×1 ribbed leg. I am working on a pair with a 2×2 ribbed cuff and leg. It requires a different type of cast on and I almost had it the other day, but when I took the ribber off, I saw that I had missed one stitch on the back half of the cylinder.

I may need to save up for a larger cylinder and ribber dial for large men’s socks, but will get some advice from the other crankers at the Crank in next month at the Cape on whether I should get the 80 or 84 stitch combination.

Do you like my sock stretchers?  I got them yesterday at the estate sale of a weaver.  There was quite a lot of yarn, books, and weaving tools, but I spotted these and snatched them up first thing.  They are vintage men’s stocking stretchers.  Before there was such as thing as  superwash yarn, the wool socks would shrink when washed and needed to be stretched out as they dried to maintain the size. (Since I use a superwash wool/nylon blend, I don’t have to worry about that, and they can even be machine washed on gentle.) I think they are a great way to feature my men’s socks and will look good when I get enough inventory to have a booth at a show.