Silk, Shibori and Indigo

shibori silk scarves
Registration is now closed.  If you wish to plan a shibori silk scarf party for you and a group of 5-10, please contact me at this email and we can set it up!

I will be hosting a 4 hour beginner’s workshop in my yard in Silverton, Ohio Sunday September 18 at 1:00 pm on the art form of Shibori and indigo dyeing. Shibori is an ancient Japanese art in which cloth is bound, stitched, folded, twisted and/or compressed to create patterns in cloth before dyeing.

You will receive a blank silk scarf that is dye ready. We will learn Kumo, Kanko, and Itajime Shibori techniques to create patterns of resist for a beautiful and unique scarf. You will choose 1 or 2 techniques for your scarf, prepare it, dye it in the indigo pot, rinse it, iron it dry and take it home. No previous experience necessary!

Workshop is $35 and includes the scarf and materials needed for the resists, the use of the dye pot and a handout.

Indigo dyeing is wet and messy. Please bring a good pair of rubber gloves that has a long cuff (not stopping at the wrist) to keep the dye from leaking into the gloves. The indigo dye is a slightly alkaline solution and not harmful to most people but stains and can take up to a week to wear off. The more worried you are about blue hands, the better and longer your gloves should be. Wear old clothes and shoes that can get dye on them.

The address and directions to my home will be sent to you after registration.

Limit 10 participants. To register and pay, click “Add To Bag” below. (Registration is now closed and link to register has been removed.)

Cancellation policy 100% refund before September 14, no refund after September 14 unless your space can be filled.
Click here to email Nancy with questions or comments. MeasuredThreads
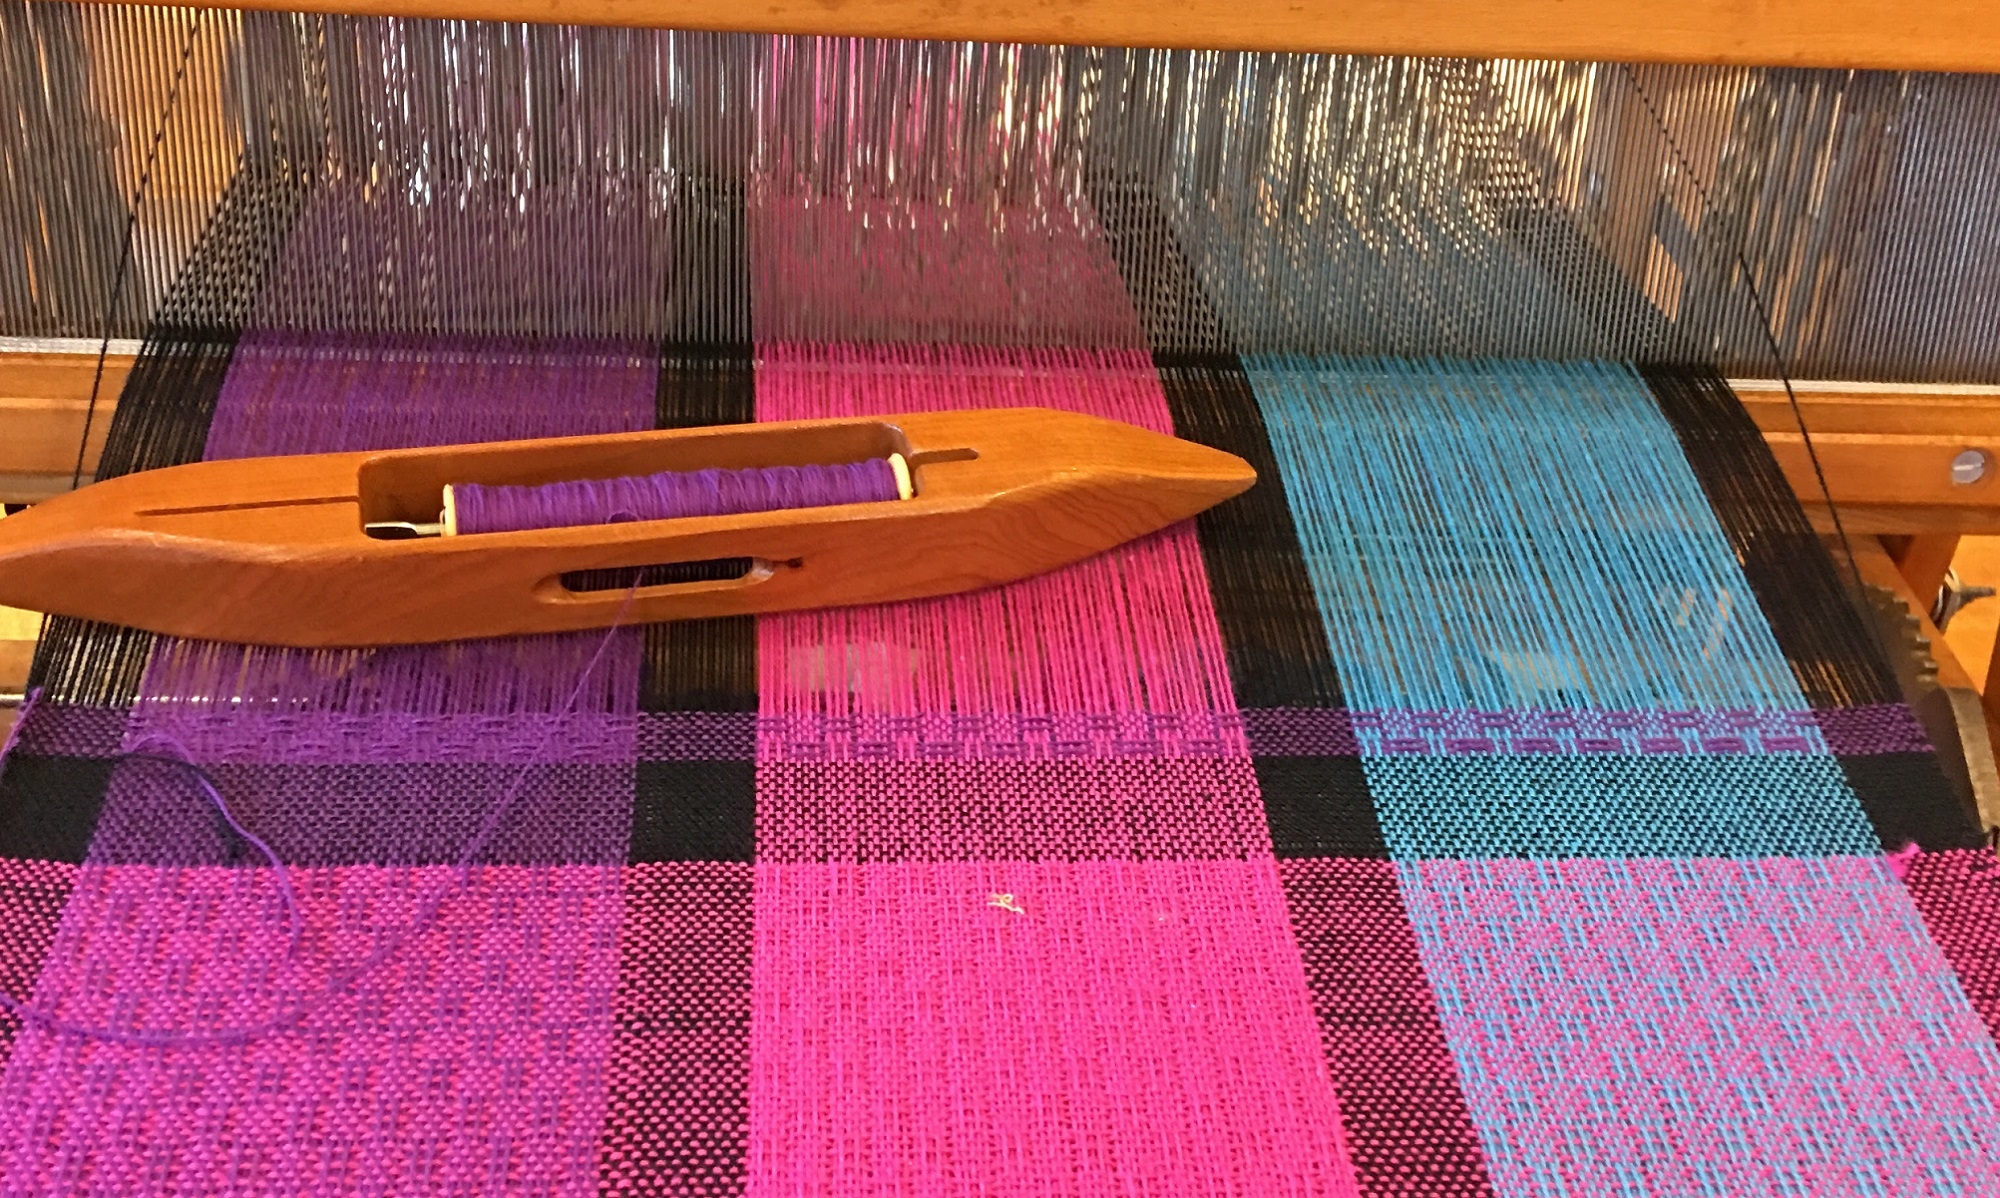
Mixed Warp Workshop Day 1

I’m taking a workshop on creating a mixed warp at the Weavers Guild of Greater Cincinnati. Today in the first 4 hours of the workshop, we learned a little about color theory and value. Colors may be different but have the same value on the grayscale. In our first group exercise we sorted yarns by value. Here is how they sorted out.

Sorted yarns in color

Here is the sorted yarn viewed as a grayscale image.

IMG_0302 (Edited)

Sometimes they can really fool you. Yellows and yarns that have some variegation or sparkle can be very difficult to sort. One of the theories of choosing the yarns is they can be any different colors but will look good together as long as they are about the same value.

Then you have to consider your fiber types, and textures of yarn and decide what will fibers will do taking into consideration how they will stretch in the warp and shrink in the finishing. We learned about the properties of different fibers such as wool, acrylic, silk, cotton and flax and how to decide how well they will mix together.

Then you choose something that will add a little “pop” of color or sparkle in the warp or to be used as a supplementary warp.

In my first go through in selecting 5 to 7 yarns from what I had to choose from, this is what I came up with and here is how they came out on the grayscale.my yarn gray

And here is what they look like in color.

IMG_0347

Its hard to see in a picture, but one of my yarns (the grayish one) had a little bit of silver sparkle to it.

After choosing some possibilities, we learned how to figure out the sett (how close together they should be) of yarns of different thicknesses, taking into consideration the percentage of each we will be using, the structure we will weave and the weft we are going to use. That part can be very tricky.

Tomorrow in an all day session we will lean different approaches to winding the warp and dressing the loom with a mixed warp. It should be a great day!


House Call

2015-07-08 10.43.04I have been going to Suzanne’s house on Wednesdays to teach her to weave on a floor loom.  She had been weaving on a rigid heddle loom on her own, and decided to buy a floor loom.  She found a used 4-shaft Macomber loom in okay shape, but it needed some TLC. I went over one day and gave her a written evaluation of what she had bought, what she still needed to do to get the loom in working order, and what she still needed to buy or make in the way of tools and accessories.

I showed her how to put the rachet brake back on the loom and sent her instructions to make lease sticks and a special raddle to work with her sectional beam.  She cleaned up the wood with Old English; de-rusted and painted the shaft; de-rusted and polished the heddle bars; sorted heddles on a jig so that the tops and bottoms were aligned, alternated in an A and B pattern and then replaced them on the heddle bars; replaced the dirty old old apron and dry rotted apron cords with some Texsolv then was ready to weave a couple of weeks later.  2015-07-08 11.04.19

beaming the warpThe second time I went to her home, I taught her how to wind a warp on a warping board and warp back to front onto the sectional beam without any special sectional warping equipment. The warp went on easily and before she knew it, she had the heddles threaded and the reed sleyed in the pattern from my Dishcloth Cotton Point Twill Towels project that I use when teaching people on their own equipment.  I call it a “get to know your loom” project.

The third time I was there, we troubleshooted for crossed threads and added the floating selvedges. She learned about the tie-up and treadling portions of the draft and how to change the tie-up to “walk” the treadles. We began with a plain weave hem and then she started weaving the first treadling pattern.  She is now weaving away on the towels and will treadle some different patterns. The next time I go back, we will cut them off and she will learn about wet finishing and hemming the towels.


009
003

Color and Weave Sampler

winding color and weaveOn Monday and Thursday evenings, Halie comes to my studio for weaving lessons. She is a student of Interior Design at DAAP at the University of Cincinnati. She is thinking about a Master’s Degree in Textiles and wanted to learn to weave. We started working on a rigid heddle loom since it is small and quick to learn about plain weave. It is also a loom she can afford, can easily transport and can easily keep in different student housing situations.  We will move on to a 4 shaft loom in the fall when she returns to school from a month of study abroad beginning in August.

She made two scarves that she direct warped to learn the basics, one with a multicolored yarn that gradually changed colors and one in a houndstooth check. Then we moved on to a color and weave sampler. We worked on the design together, basing it on some ideas in the books I have, and customizing it to work with one of my Cricket loom with a 10 inch weaving width, a 12 dent heddle and 8/4 cotton carpet warp.  Halie used a warping board for the first time to wind the two colors separately.

Loom is warped

She sleyed the rigid heddle holding the cross in her hand, first with the light color while leaving spaces for the dark color based on the warping plan we made. Then she filled in the dark color. You can see how the color sequence changes across the warp. The threading started out with a little bit of log cabin; alternating single ends of dark and light for about an inch, then alternating light and dark for a half inch, then back to alternating dark and light. After that, the sequences of dark and light changed to some other classic color and weave combinations.

Beginning to WeaveIt was a short warp and the color sequence to weave the weft was the same as the warp. Multiple iterations of color and weave effects can be observed in one small cloth and the sample is to be used as a reference tool for fabric design.


The sample was hemstitched on the loom, and now she needs to determine the edge treatment before the cloth is wet finished and pressed.  I sent the classic Virginia West book, Finishing Touches for the Handweaver, with her for the weekend to select one. I am excited to see what she comes up with!

Finished Sampler

Summer School

I have 2 private lesson students starting this week. I love teaching new weavers. One has prior experience on a rigid heddle loom which is a great way to get started.  She has since purchased a used 4 shaft Macomber Loom that needed some TLC and has since restored it to nice condition.  I met with her a few weeks ago to evaluate what she had, give her some advice on continuing the restoration, helped her put the brake pieces on properly and give her a list of things to buy or make that she needed before getting started.  We met again this morning to start winding the warp for her first project which I call a get to know your loom project.  They can be hand towels or placemats.

point twill towels

Tomorrow evening I am meeting with an art student at DAAP who wants to learn about weaving.  I will start her on a rigid heddle loom and a beginner scarf. After one or two projects, I will rent her my 4 shaft Dorothy table loom and a few items to begin 4 shaft weaving.  She doesn’t own any equipment yet.  We plan on meeting twice a week through the month of July.

I am really excited about it.  If things continue this well, I may have to get another small table loom or floor loom for students.